2 ways to make your own beeswax wraps at home
By Lottie Dalziel
Beeswax wraps really are the bee's knees. These cuddly wraps are a simple way to keep your food fresh and to help you cut down the amount of cling film you use in your kitchen. Better yet, they are easy to make and a great activity that the kids will love. Plus, not only will this recipe help you make brand new beeswax wraps, but it will teach you how to give your old wraps a quick refresh. So without further ado let’s get cracking!

This piece explains how to make beeswax wraps two ways, firstly using your oven and the second your iron. Personally, I found the ironing method to be easier and it produced a more evenly spread wrap, although in saying that I think that the baking method would be better for kids.
What you’ll need
- 1 block of beeswax (vegan option: buy a plant-based resin)
- Baking paper
- Fabric (use a light-weight cotton or hemp material)
- Scissors
Ironing method
- An iron
- An old towel or tea towel
Baking method
- Baking tray
- Bakers brush
What to do

Option 1: Baking method
- Preheat your oven to 100° Celsius.
- Place a sheet of baking paper down on an old tray and a single piece of fabric in the centre.
- Grate beeswax and sprinkle it over the fabric leaving a 2cm gap around the edges.
- Place the baking tray on one of the middle racks.
- Keep a very close eye on the wax and as soon as it has just melted remove from oven.
- Use a bakers brush to spread evenly, working quickly as the wax will harden. If you find that the wax isn’t spreading well simply pop it back in the oven to soften.
- It’s important that your wraps are entirely covered with wax, otherwise, they won’t be any good at hugging! If you don’t have enough wax simply grate some more and bake, but be careful using less is better than more.
- Once you have spread the wax all over the fabric remove from parchment and hang on your clothesline or a fine piece of string. This will only take a couple of minutes and then they’ll be ready for you to use!

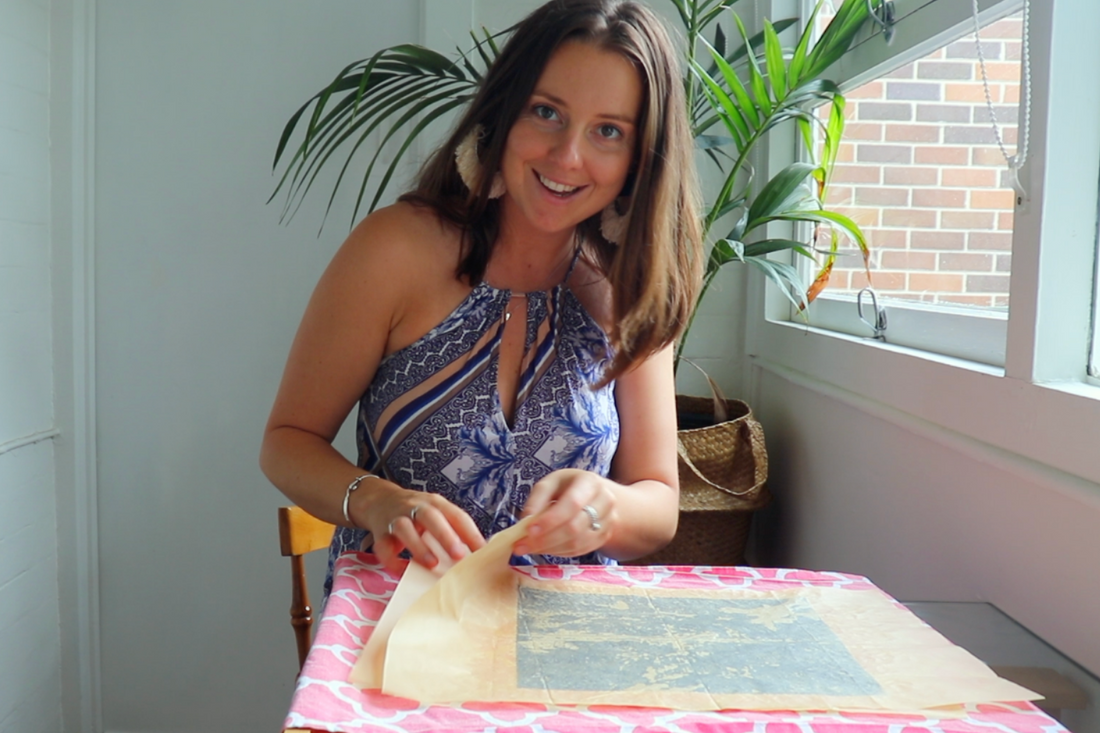
Option 2: Ironing method
- Place an old towel or tea towel over your ironing board, followed by a piece of baking paper.
- Place your fabric in the centre of the paper. Grate beeswax and sprinkle it over the fabric leaving a 2cm gap around the edges, place another piece of paper on top of the wax.
- Turn on your iron and switch it to its lowest heat setting. Gently glide the iron over the sheet of baking paper slowly melting the wax.
- Once melted ensure that the wax has spread to all of the edges of the fabric and remove from the paper.
- Hang to dry for a couple of minutes and enjoy!
Note: the easiest way to clean your utensils is with boiling water as cold water will harden the wax making it next to impossible to clean.
RELATED: How to care and dispose of your beeswax wraps
About the author
Lottie Dalziel is the founder and editor in chief of Banish. She has a passion for the environment and wants to help educate and inspire individuals to make small changes towards a more sustainable future. Stay up to date with her latest challenges on Instagram @banish.au.